Welcome to EndoscopeManager
To work with Dovideq systems, you'll need to know some things about EndoscopeManager. This video gives you a quick introduction to the system.
To test endoscopes with LightControl, the endoscope must first be added to the EndoscopeManager database. To do this we need the following things:
- EndoscopeManager account
- DoviSCAN
- An endoscope with a UDI code
Step 1: Go to www.EndoscopeManager.com
Step 2: Log in with your credentials. Don't have an EndoscopeManager account? Please contact us.
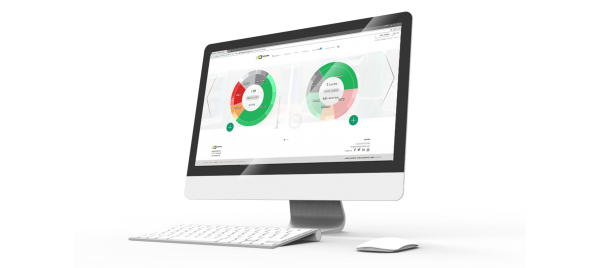
Step 3: From the main dashboard, click the plus icon on the bottom left next to the pie chart.
Step 4: Click the text box underneath 'Scan Datamatrix Code' and scan your endoscope's UDI with DoviSCAN. When scanned, click next.
Step 5: Select the condition of your endoscope. You have the options New, Used, and Refurbished. Then click next.
Step 6: Enter your scope type. This is usually found on the endoscope somewhere. As an example we're using a Karl Storz 26046 AA, so we enter 26046 AA. When EndoscopeManager starts recognizing the type, it will give you a suggestion. After selecting your type, click next.
When your type is not in the system, you can suggest a new type. Dovideq will assess wether a new type needs to be added and will get back to you with an update.
Step 7: Enter the serial number on your scope. This is often found on the shaft or the housing of your scope. If you've scanned the UDI correctly in step 4, the UDI should already be filled in. If not, please scan it again with DoviSCAN. Then click next.
If you're scope doesn't have one for some reason, you need to come up with one unique to this device.
Step 8: Check to see if all details are correct. Optionally, you can assign the endoscope to a department or add a comment. When you're done click next.
Congratulations! You've now added your endoscope to EndoscopeManager and can start testing with LightControl!
Where to find your test results from LightControl in EndoscopeManager.
EndoscopeManager stores test results under the corresponding endoscope serial number. To find a specific test follow these steps:
Step 1: Go to www.EndoscopeManager.com
Step 2: Log in with your credentials. Don't have an EndoscopeManager account? Please contact us.
Step 3: From the main dashboard, click on the Endoscopes pie chart, or select Endoscopes in the top menu.
Step 4: You'll now see an overview of all the endoscopes registered to your account. Every endoscope has a timeline. A green dot indicates a passed test, a red dot indicates a failed test.
Step 5: By default, your endoscopes are sorted by the most recent test. To find a specific endoscope, enter the serial number in the search box in the top right and hit enter.
Step 6: Click on the endoscope of which you want to see the test results.
Step 7: You'll see a summary of the endoscopes usage on the bottom, and a timeline showing every parameter score it got within the set date range on the top.

